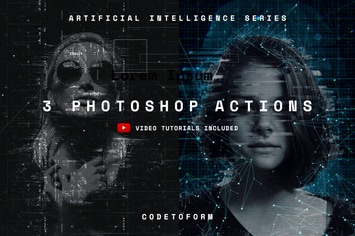
Artificial Intelligence 3 Photoshop Action
Author
codetoform
Published
Jan 11, 2021
Item Code
47e6dcd4-e2f6-4b7d-855a-8aea1aa33246
How to Download
- 1 Copy the Item Code above
- 2 Go to fuckdcma.com
- 3 Paste the code in the text box and click "Generate Download Link"
About This Item
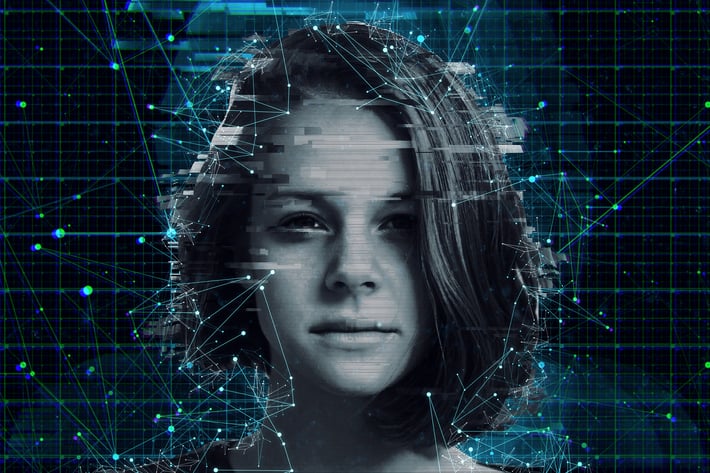
Artificial Intelligence 3 Photoshop Action
Create this cool effect on your photos with just a few clicks. Make neat looking posters, ads, banners, presentations – save days of work. You get unique result every time you run the action. How cool is that?
Video Tutorial:
What’s included
1 .atn file (Action)
1 .abr file (Brush)
1 .pat file (Pattern)
Help file & step by step tutorial with images
Fully editable layers
Well organized layers and folders
Numerous color filters
The action is compatible from Photoshop CS6 to latest Photoshop CC 2018. The Action will only work in the English version of Photoshop .
Recommended photo size
For the best results, I recommend using photos in the range of 2500px – 5000px in width.
The file is organised
After each action has finished playing, it creates a well-organised layer structure. Each layer and folder are named appropriately to create a neat working environment for you.
The action is tested
Each Action is thoroughly tested across between 30 – 50 different photos to ensure there are no errors. In the case where you do experience an error, please contact me via the contact form on my profile page.
How to configure Photoshop
1. Make sure you are using the English version of Photoshop. Each action has been created and optimized to work only with the English version of Photoshop, so please make sure that you are using this version. If not, don’t worry: you can change the language of your version of Photoshop to English (and switch back again) using this method
2. Use the RGB Mode and 8 Bits color. To check these settings, go to Image->Mode and check the “RGB color” and “8 Bits/Channel”.
3. Make sure that the option “Add ‘copy’ to Copied Layers and Groups” is turned on. This option applies only to CS5 and later versions of Photoshop. On the “LAYERS” panel, click on the menu icon, go to “Panel Options…”, and check that the “Add ‘copy’ to Copied Layers and Groups” is turned on.
4. Use a photo with 72dpi or higher. If you are using a photo with less than 72dpi, the action will not function correctly. To fix this, go to Image->Image Size and increase the resolution value.
5. Set the Opacity of brush to 100%. Set the Opacity of the brush to 100%. Select the “Brush Tool” and move the opacity slider to 100%.
Need help?**
If you need assistance with this action or any other action, please firstly ensure you have read the readme.txt file inside the zip file.
If you are still experiencing issues, please contact me through the email form at
More from codetoform
View all →
Technology Series Photoshop Actions
by codetoform
Abstract Background Geometric Vectors GEO_NEON
by codetoform
HUD User Interface Set
by codetoform
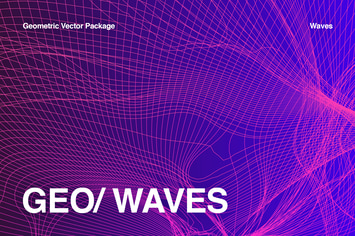
Geometric Waves Collection
by codetoform
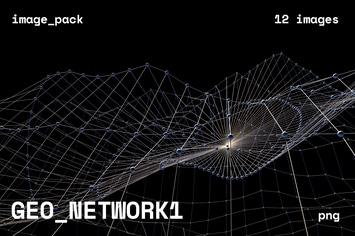
Abstract Background Geometric Set GEO_NETWORK1
by codetoform
Artificial Intelligence Series Photoshop Actions
by codetoform
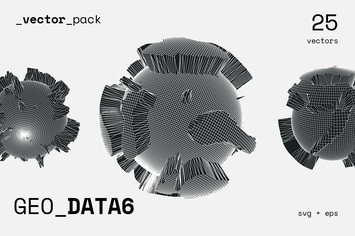
Abstract Background Geometric Vectors GEO_DATA6
by codetoform
Abstract Background Geometric GEO_100VECTORS
by codetoform
You May Also Like

Christmas Photoshop Action
by Eugene-design
50 Watercolor Brushes
by orcacreative
Retro Photo Kit
by sparklestock
Solar Animation Photoshop Action
by sreda
Noire Photoshop Actions Vol 1
by micromove
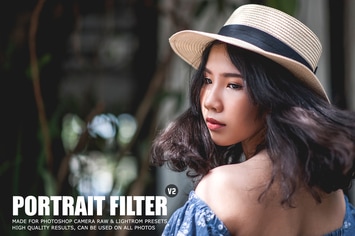
Pro Portrait Lightroom Presets Ver. 2
by creativetacos
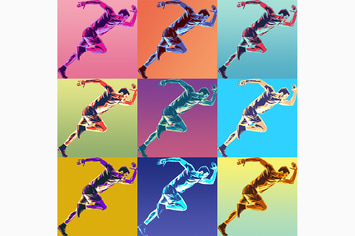
Pop Art Poster Action
by bangingjoints
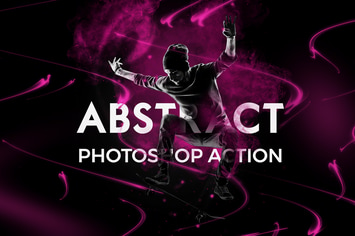
Abstract Photoshop Action
by iHemalaya