
Future Insur - Insurance Company Elementor Template Kit
Author
Evonicmedia
Published
Nov 10, 2025
Item Code
97084b16-7f0e-401a-a694-97933ab643a6
How to Download
- 1 Copy the Item Code above
- 2 Go to fuckdcma.com
- 3 Paste the code in the text box and click "Generate Download Link"
About This Item
Future-Insur is an Elementor Template Kit designed exclusively for the Family Insurance industry. Crafted with precision and innovation, this kit offers a seamless blend of contemporary design and user-friendly functionality. Elevate your insurance website with stunning layouts, dynamic sections, and customizable elements tailored to meet the unique needs of family-oriented coverage. Future-Insure Template Kit ensures a modern, responsive, and engaging platform, empowering insurance providers to connect with clients effortlessly.
#### Features
Individual elements can be fine-tuned or fonts and colors can be changed all in one spot.
Drag-and-drop visual builder for true no-code customization.
Design that is both contemporary and professional.
Fast-loading.
Most Elementor themes are compatible with this plugin.
#### Templates Include:
Home
About Us
Services
Team
Blogs
Blog Details
Pricing
case studies
case studies details
Faq
Contact Us
404
Coming Soon
#### Sections and Blocks:
Header
Footer
Contact Form
Registration Form
Message form
Insurance form
Question Form
#### Required Plugins Pre-Installed With the Kit
Elementor
JegElementor
Metform
How to Use Template Kits:
This is not a WordPress Theme. Template kits contain the design data for Elementor only and are installed using the envato Elements plugin for WordPress or directly through Elementor.
1. Download your kit file from Envato and do not unzip it. If you use Safari browser you may need to ensure "Open safe files after downloading" is disabled in the browser preferences.
2. Go to Settings > Permalinks and ensure Post Name is selected
3. Go to Appearance > Themes > Add New and ensure Hello Elementor is installed and activated. This will prompt you to install Elementor if you haven't already.
4. Go to Plugins and ensure Elementor and Envato Elements are installed and at the latest version. If your kit requires Elementor Pro, it must be installed now and connected to your account.
5. Go to Elements > Installed Kits and click Upload Template Kit Zip (or click your kit to view it)
6. Check for the orange banner at the top and click Install Requirements to load any plugins the kit uses.
7. Click import on the Global Kit Styles first. This will setup the site settings.
8. Click Import on one template at a time in the order shown. These are stored in Elementor under Templates > Saved Templates and are re-used from here.
Creating pages
1. Go to Pages and create a new page and click Edit with Elementor
2. Click the gear icon at lower-left of the builder to view page settings and choose Elementor Full Width and hide page title
3. Click the gray folder icon to access My Templates tab and then Import the page you'd like to customize.
4. The home page is set under Settings > Reading by selecting Static Front Page.
If you have Elementor Pro, headers and footers are customized under Templates > Theme Builder.
Detailed Guide:
For further support, go to Elementor > Get Help in WordPress menu.
#### Importing Metforms: What You Need to Know
1. The metform block templates should be imported.
2. Import the page template with the form on it and enable the Navigator by right-clicking.
3. Click Edit Form after locating and selecting the Metform widget. Then select New and Edit Form from the drop-down menu. The function Object() { [native code] } will show up.
4. Select the grey folder icon that says 'Add Template'.
5. Select the 'My Templates' option from the drop-down menu.
6. Then click 'Insert' after selecting your imported metform template (click No for page settings).
7. After you've finished customizing the template, click 'Update & Close.' In the template, the form will appear.
8. Update the information by clicking the button.
#### In jeg elmentor kit, Configure The Global Header and Footer
1. Import the template for the header and footer.
2. Navigate to jeg elmentor kit > Header Footer and select Add New (if prompted with a wizard, you may click Next through it without taking any action).
3. Toggle Activation to On, title the header, and leave Entire Site selected.
4. To open the builder, click the grey Edit Content button.
5. Select the header template to import by clicking the grey folder icon, then select your menu in the nav element and click Update.
6. Repeat for the footer.
Envato Elements demo pictures are used in this Template Kit. To use these photos on your website, you'll need to purchase a license from Envato Elements, or you can use your own.
More from Evonicmedia
View all →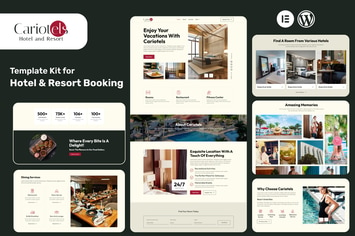
Cariotels – Luxury Hotel & Resort Elementor Template Kit
by Evonicmedia

Joggity - Marathon Race & Running Elementor Template Kit
by Evonicmedia

HOSTOSO - Hosting & Webhosting Service Template Kit
by Evonicmedia

UbikVR - Virtual Reality Services Elementor Template Kit
by Evonicmedia

DavidDean – Personal Portfolio & Resume Elementor Template Kit
by Evonicmedia

AVATION - Robotics & Artificial Intelligence Elementor Template Kit
by Evonicmedia

InventionAIs - AI Startups & Technology Elementor Template Kit
by Evonicmedia

Tripitika – Tourism & Travel Agency Elementor Template Kit
by Evonicmedia
You May Also Like

Optima - Multipurpose WordPress Theme
by LA-Studio

Next Post Fly Box for WordPress
by QuanticaLabs
Accordion FAQ WordPress Plugin
by SUHETO
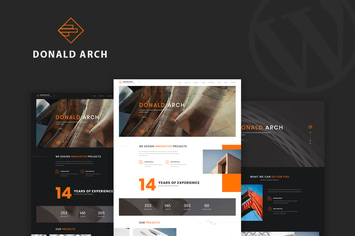
Donald Arch - Creative Architecture WordPress Them
by OceanThemes

WPBakery Addon - Apollo Audio Player
by LambertGroup
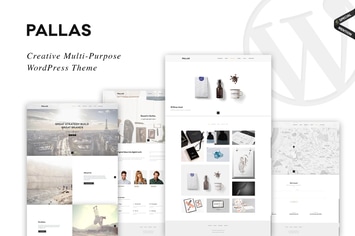
Pallas - Creative Multi-Purpose WordPress Theme
by OceanThemes

Sassnex - WordPress Theme for App, Saas & Startup
by shtheme
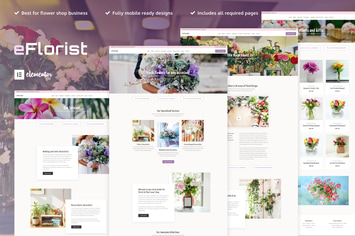
eFlorist - Flower Boutique & Decoration Elementor Pro Template Kit
by kaththeme